


This HowTo applies to BAT devices with the following software release and later: HiLCOS 10.12-RU2
To help prevent undesired access to the device, it is imperative that you change the default password during initial setup.
Prerequisites:
- RJ45 Ethernet cable is available (not included in the scope of delivery)
- Personal computer is on
- HiDiscovery software is installed
- LANconfig software is installed
- Device is on
Step 1: Connect the device to your personal computer using the RJ45 Ethernet cable.
Step 2: Open (double-click) HiDiscovery.

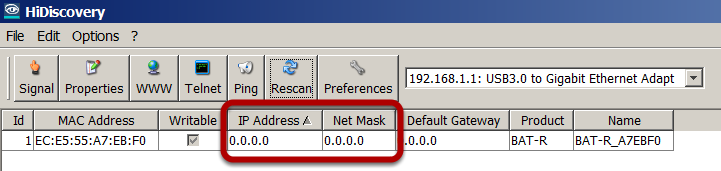
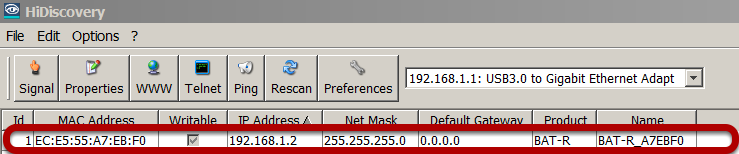
Result: HiDiscovery detects the new device without IP configuration as shown in the screenshot below.
Troubleshooting if HiDiscovery does NOT detect the device:
There might be a conflict between HiDiscovery and your Antivirus program. Proceed as follows:
- Contact your system administrator to check if the Antivirus program can be disabled temporarily or if an exception for HiDiscovery can be configured.
- Then click "Rescan".
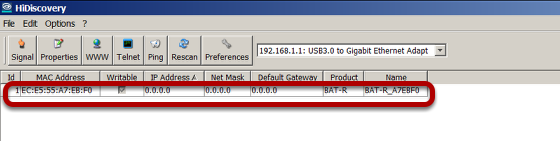
HiDiscovery detects the new device without IP configuration as shown in the screenshot above.
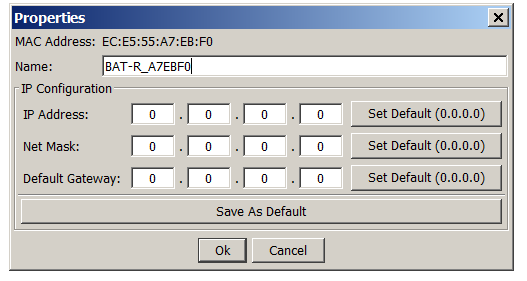
Step 3: Double-click the device that you want to configure.
Result: HiDiscovery opens the "Properties" dialog.
Step 4: IP Configuration
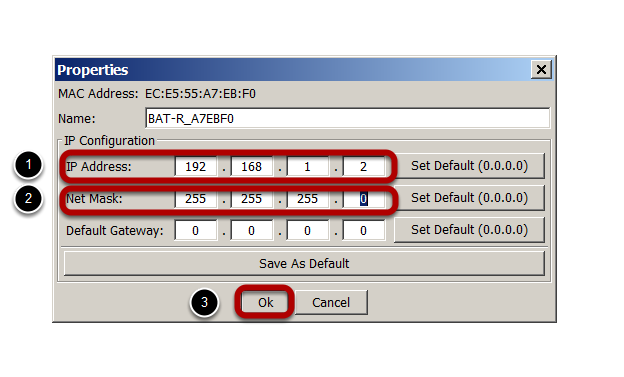
- Configure the IP Address according to your preference.
- Configure the Net Mask according to your preference.
- Click "OK".
Result: After 5-10 seconds HiDiscovery shows the IP Address and the Net Mask that you have configured (see screenshot below).
Troubleshooting if the IP Configuration takes longer than 10 seconds after you have clicked "OK" and the configured IP Address and the Net Mask are still NOT shown:
There might be a conflict between HiDiscovery and your Antivirus program. Proceed as follows:
- Cancel the action.
- Contact your system administrator to check if the Antivirus program can be disabled temporarily or if an exception for HiDiscovery can be configured.
- Click "Rescan".
HiDiscovery shows the IP Address and the Net Mask you have configured (see screenshot above).
Step 5: Open (double-click) LANconfig.
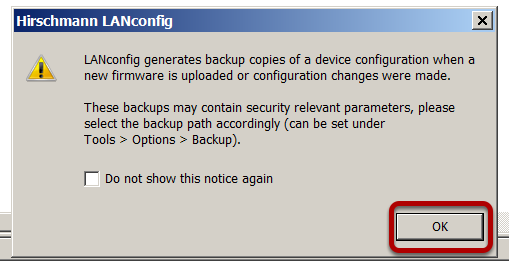
Step 6: Click "OK".
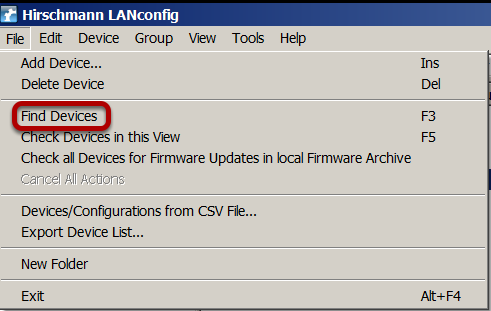
Step 7: Click "File" > "Find Devices".
Step 8: Use the default parameters (as shown in the screenshot below) or define your own search parameters.
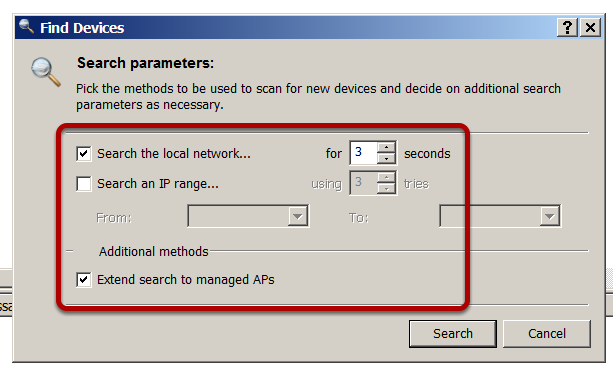
Step 9: Click "Search".

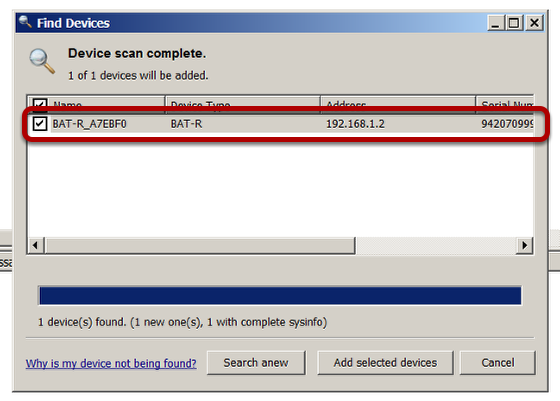
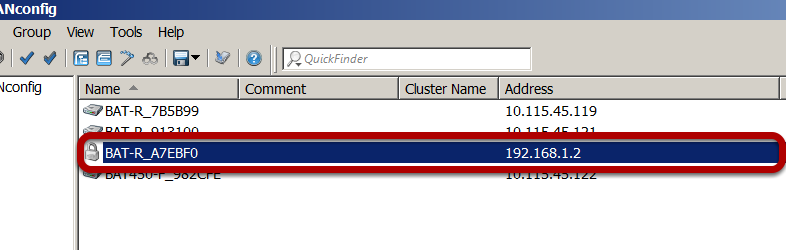
Result: LANconfig shows the newly configured device in the "Find Devices" dialog.
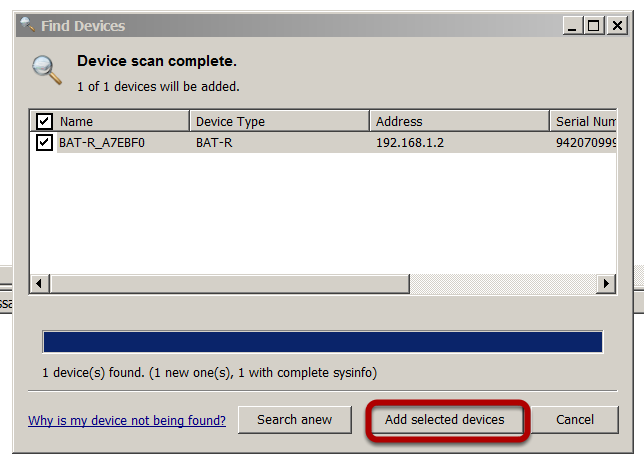
Step 10: Click "Add selected devices".
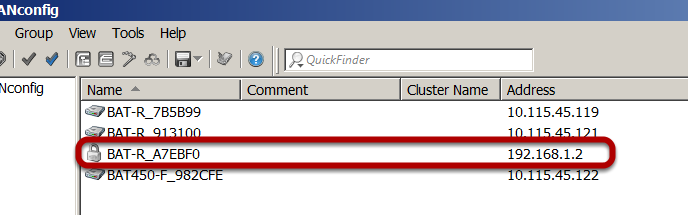
Result: LANconfig shows the newly configured device in the start dialog.
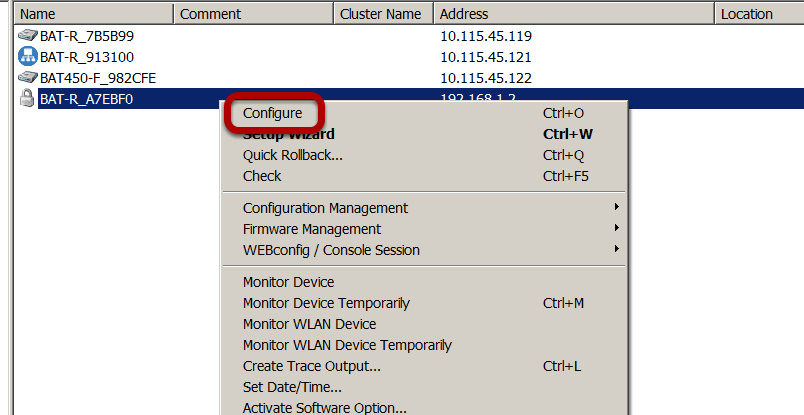
Step 10: Right-click the newly configured device.
Step 11: Click "Configure".
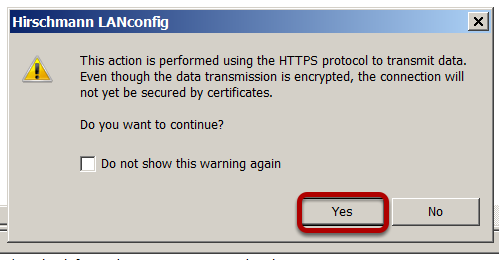
Step 12: Click "Yes".
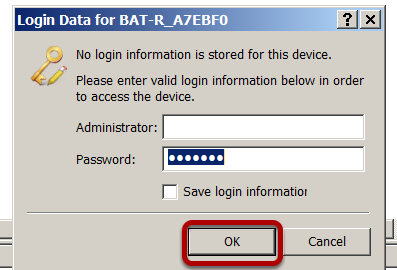
Step 13: Type in the password "private".
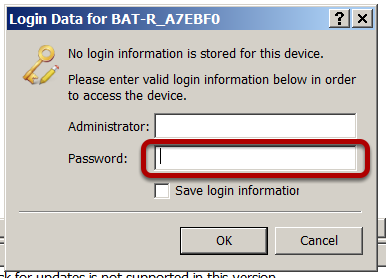
Step 14: Click "OK".
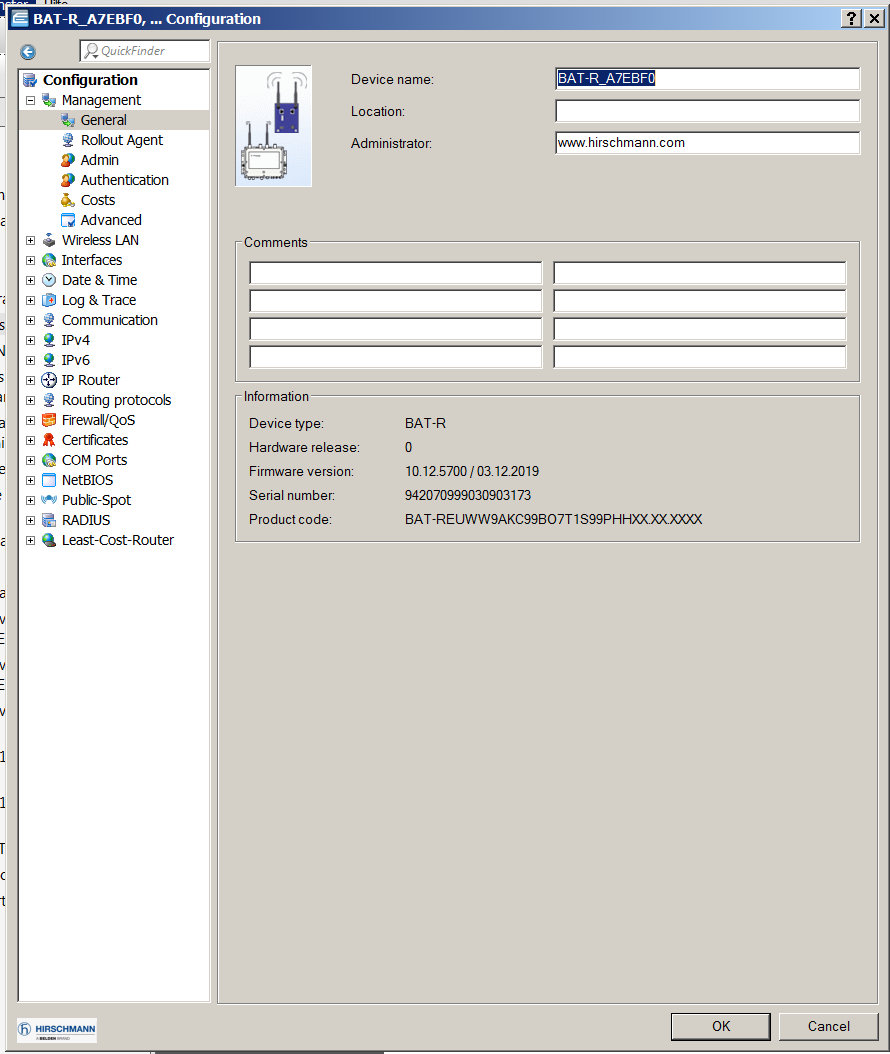
Result: LANconfig opens the "Configuration" dialog.
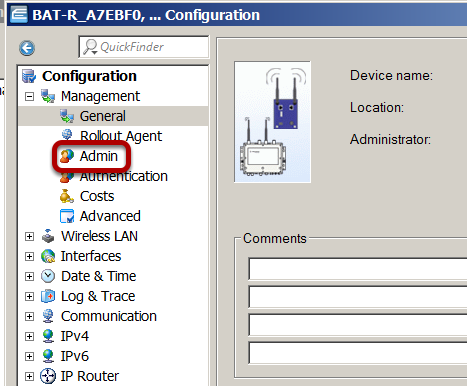
Step 15: Click "Configuration" > "Admin".
Step 16: Type in a new password that contains at least 8 characters which includes upper-case characters, lower-case characters, numerical digits and special characters.
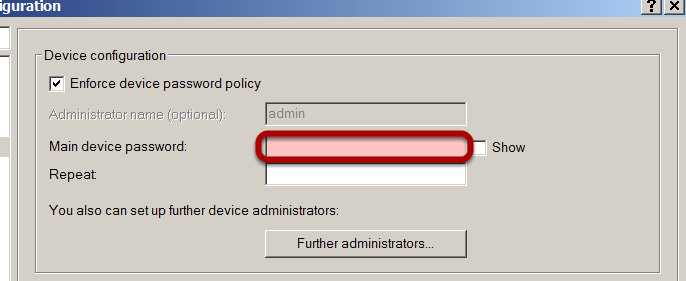
Step 17: Type in the new password from Step 16 again.
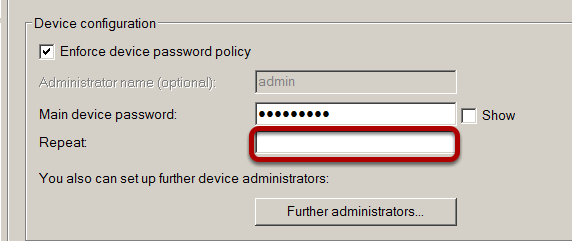
Step 18: Click "OK".
