This guide is designed to step you through the configuration of the RDD Hirschmann product. The RDD consists of 2 routers in the same enclosure, with traffic only being allowed from the IN router to the OUT, so UDP is the only protocol that is permitted.
HiView/HiDiscovery will be needed to follow this guide along with 2 computers.
Configuring the IN Router
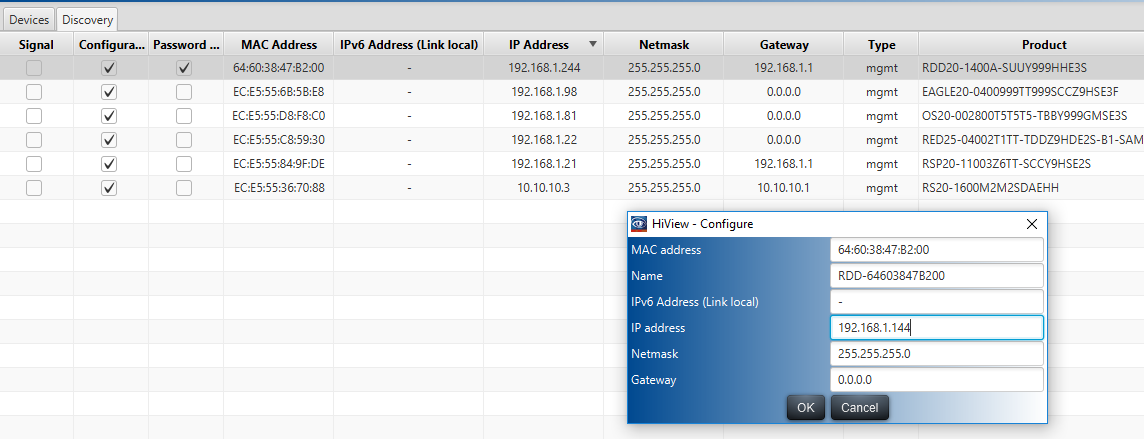
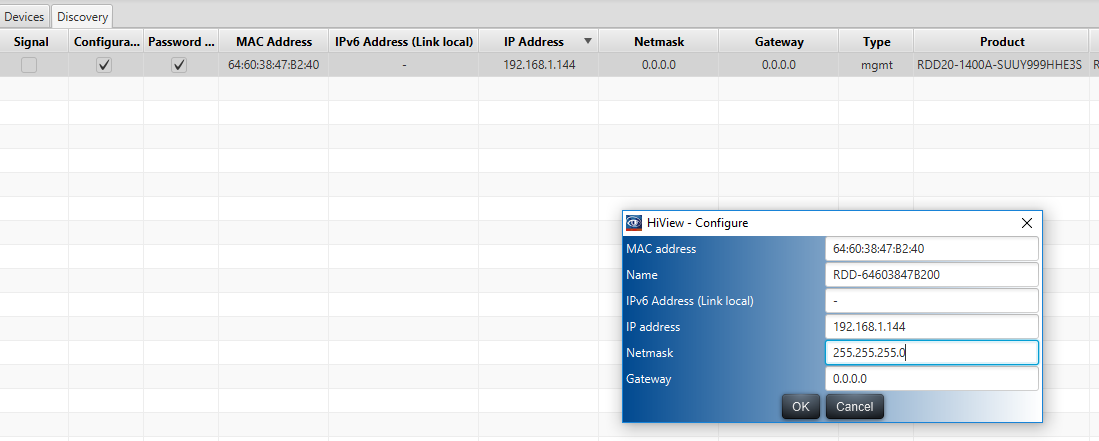
1. Give the IN side of the RDD an IP address with HiDiscovery.
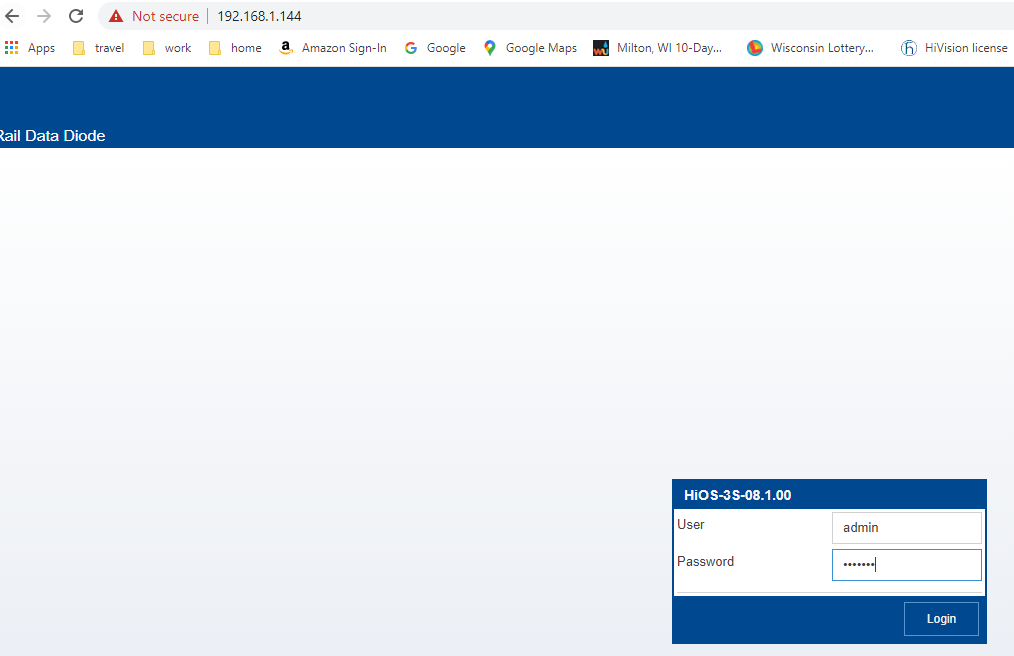
2. Login to the GUI of the switch.

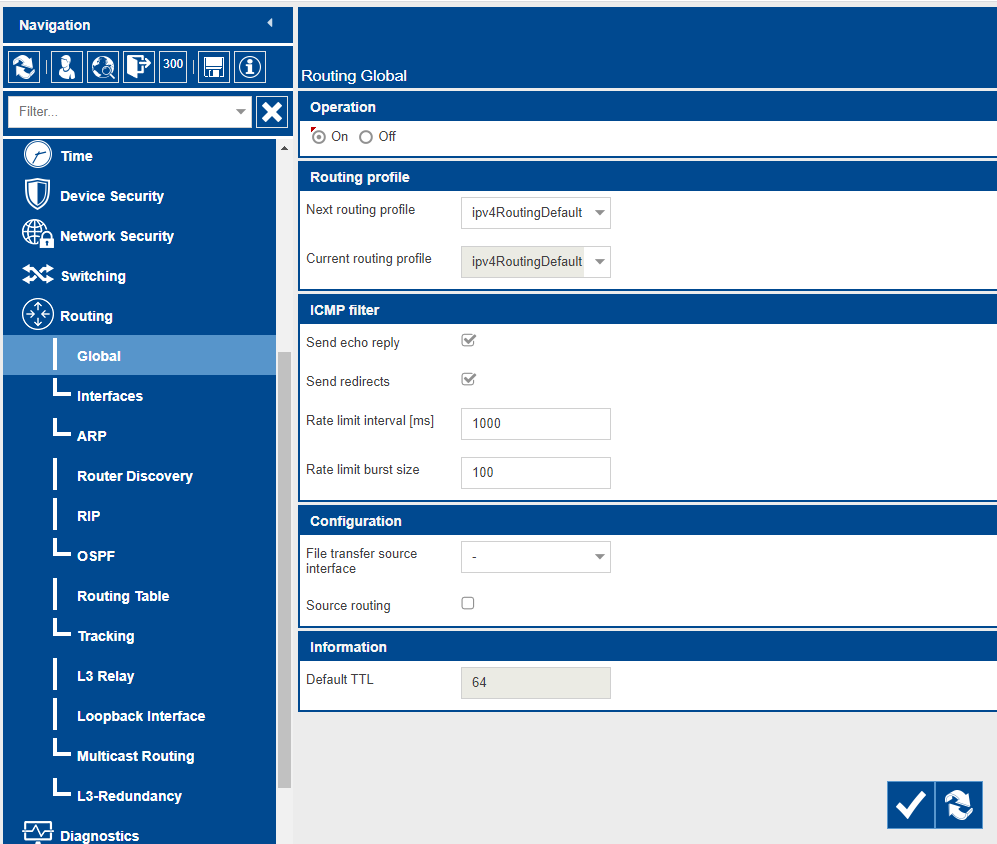
3. Go to Routing/global and turn on routing then click the write button.
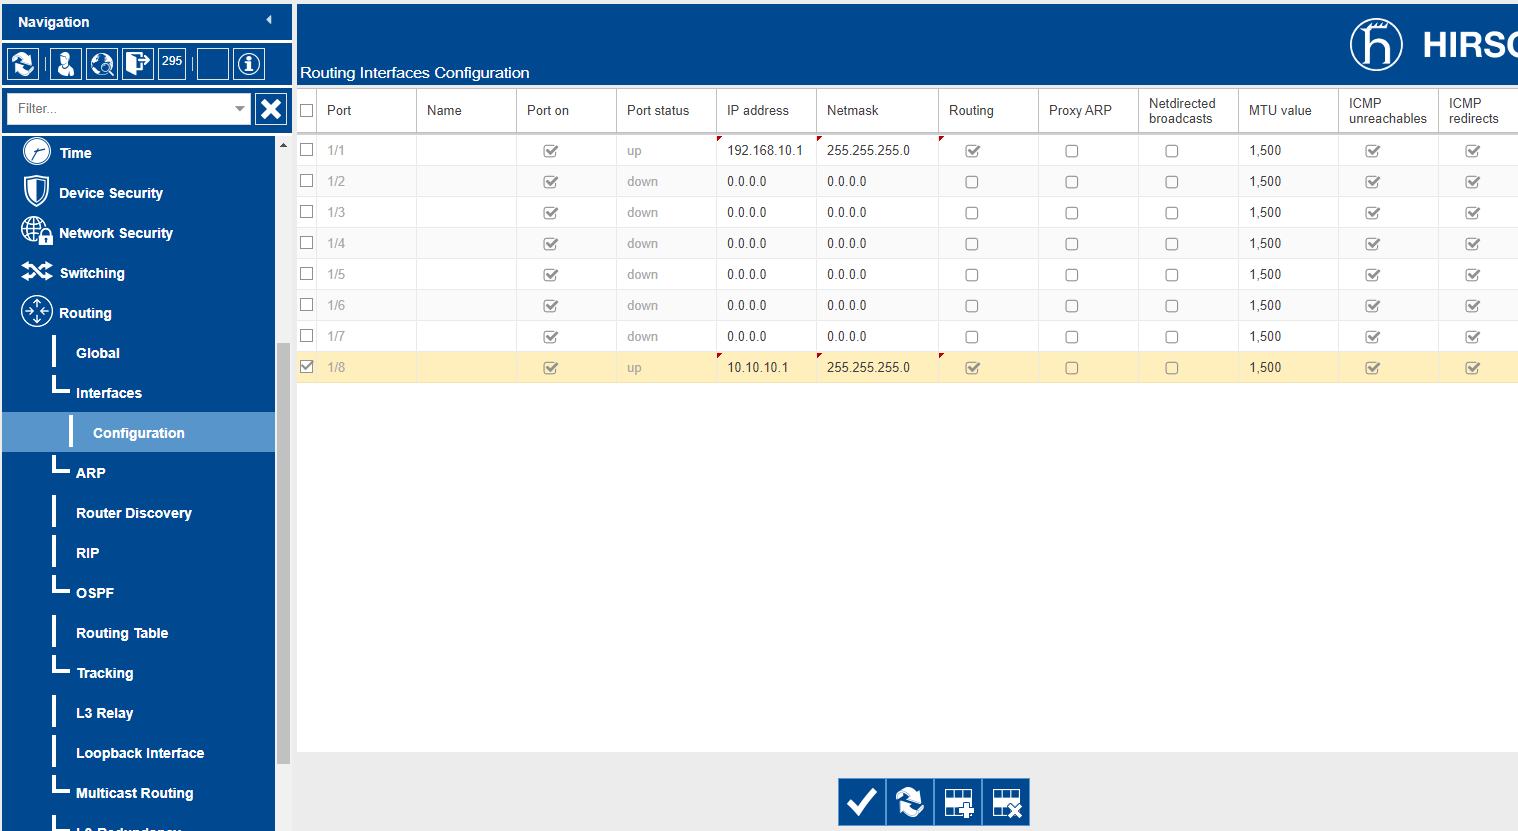
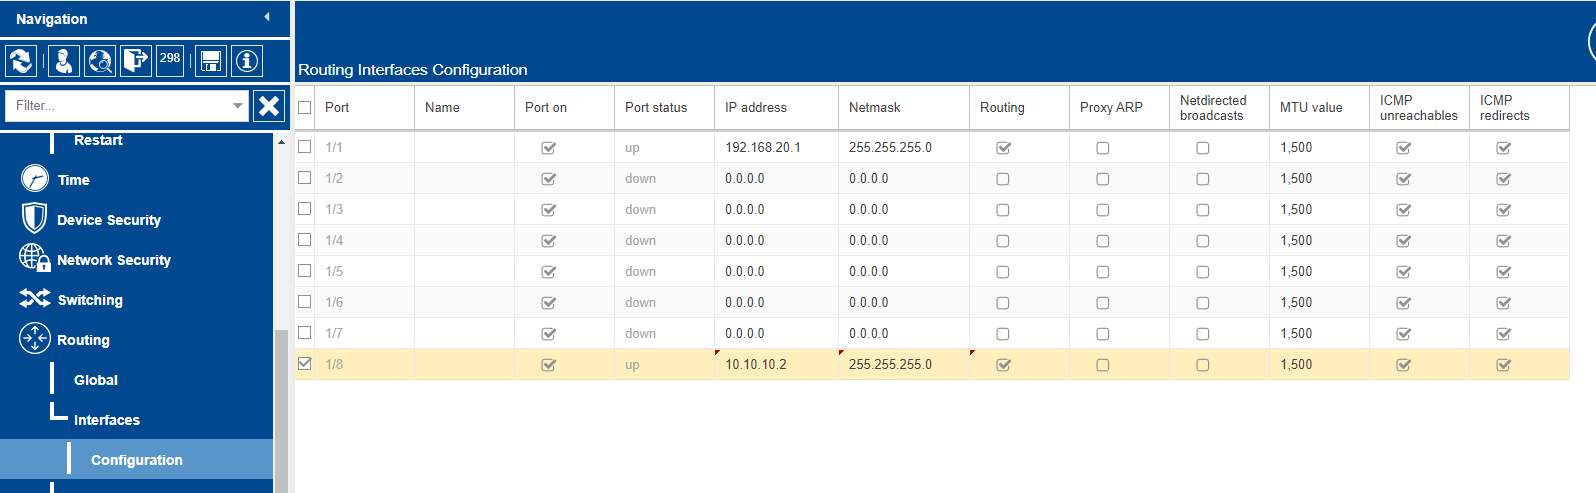
4. Go to routing/interfaces/configuration and assign the IP addresses to the interfaces used and click write. Refresh to make sure the settings are correct. If an IP address was assigned to the port currently used to communicate to the switch the computer IP will have to be changed to the same subnet of the IP that was assigned. This will also be the new IP address to login to the switch and the gateway IP of the computer. Note: Use the wizard to configure virtual interfaces/VLANs.
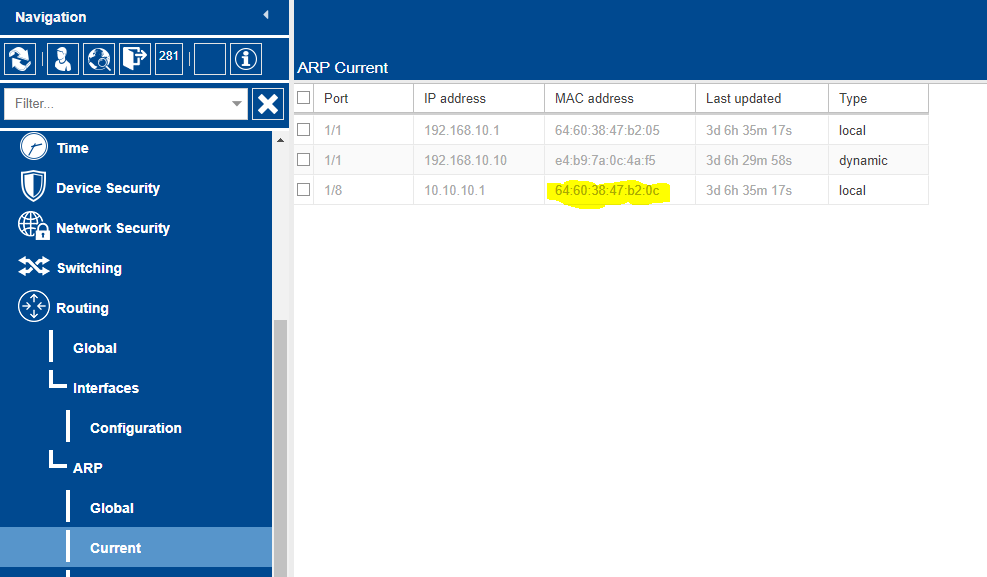
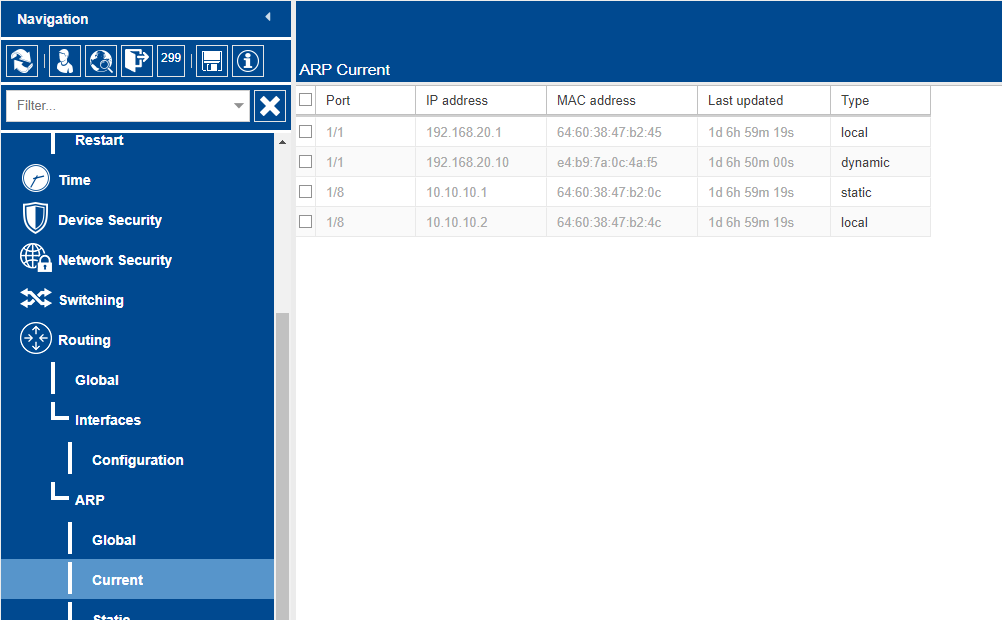
5. Go to Routing/ARP/current and write down the MAC for the IP address that will connect the 2 Routers in the RDD, this will be needed when configuring the out Router .
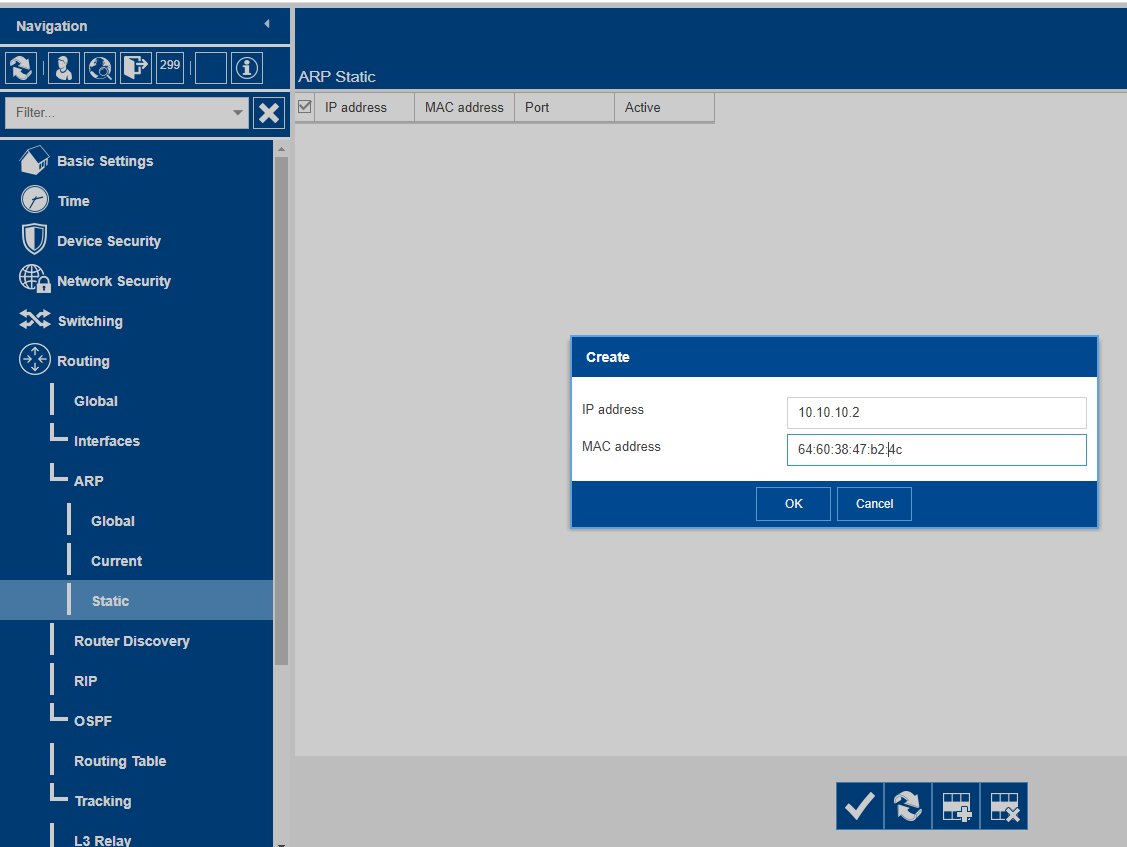
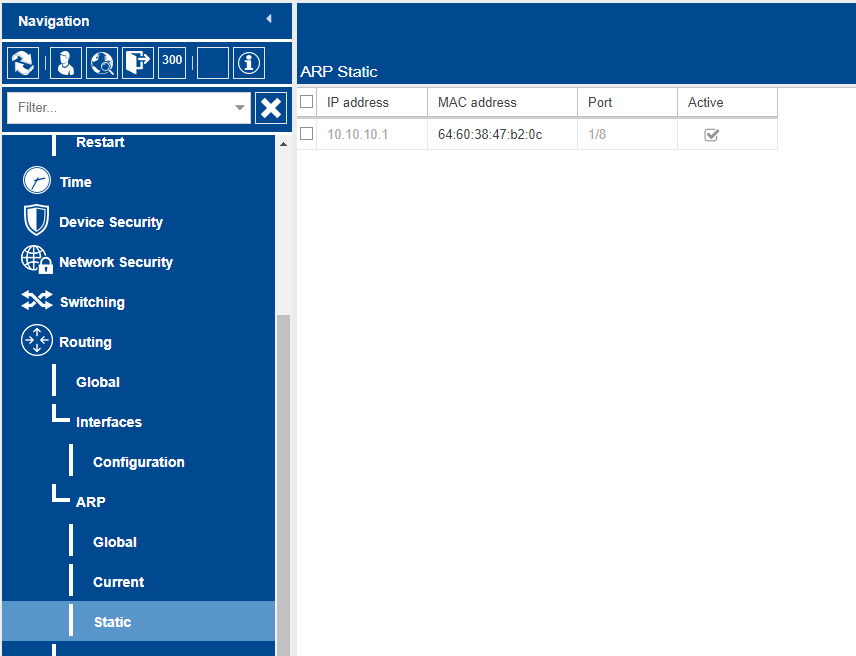
6. Go to Router/ARP/Static and add an entry click active and write. This step will have to be done after the MAC of the OUT interface connecting to routers is known.
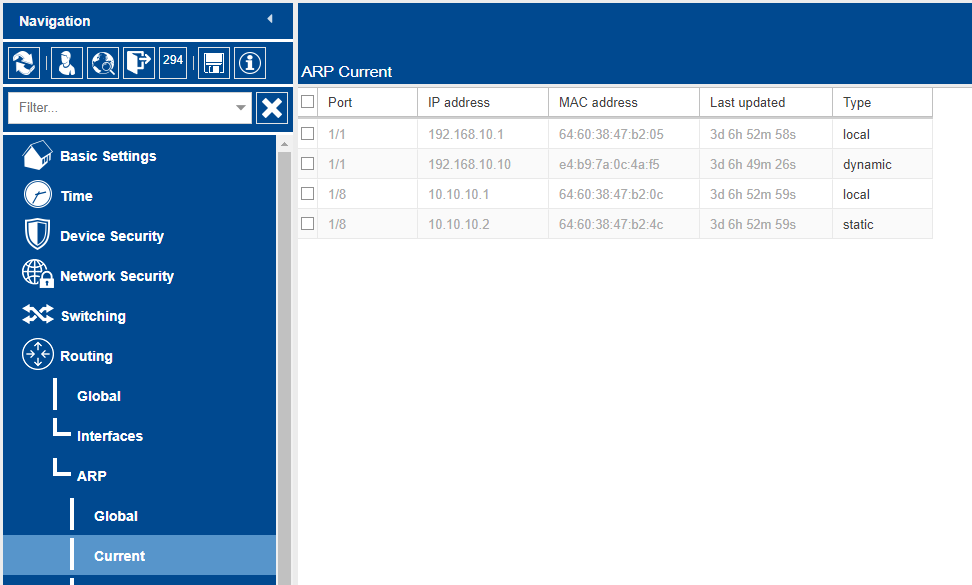
7. Make sure the new route shows up in the current tab which may need to be refreshed.
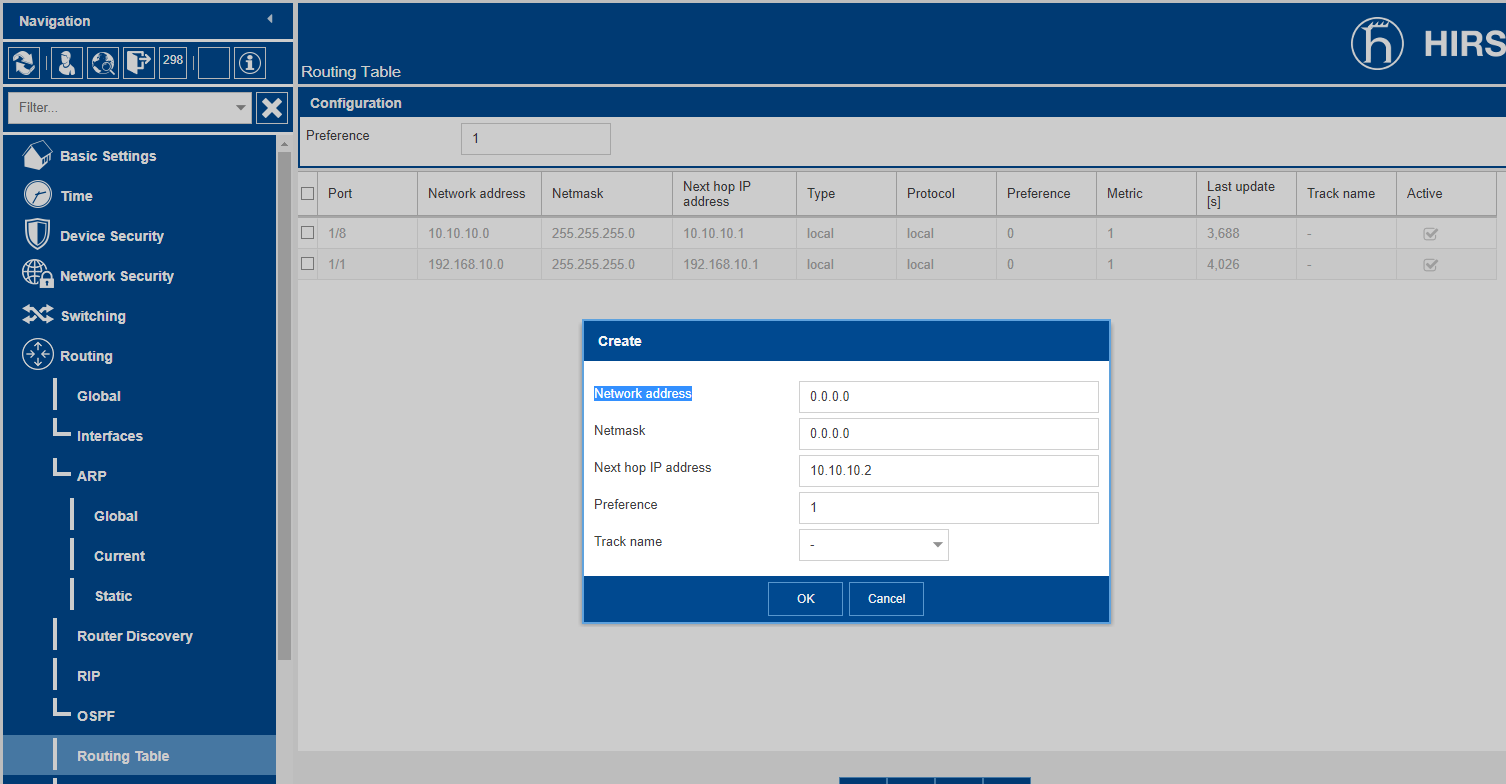
8. Add a static route 0.0.0.0/0 with the next hop IP of the OUT connecting interface click ok, make sure it is active and click the write button.
Configuring the OUT Router
1. Give the OUT side of the RDD an IP address with HiDiscovery.
2. Login to the GUI of the switch.
3. Go to Routing/global and turn on routing then click the write button.

4. Go to routing/interfaces/configuration and assign the IP addresses to the interfaces used and click write. Refresh to make sure the settings are correct.
5. Go to Routing/ARP/current and write down the MAC for the IP address that will connect the 2 Routers in the RDD, this will be needed when configuring the IN Router.

6. Go to Router/ARP/Static and add an entry click active and write.
7. Make sure the new route shows up in the current tab which may need to be refreshed.
Testing the configuration
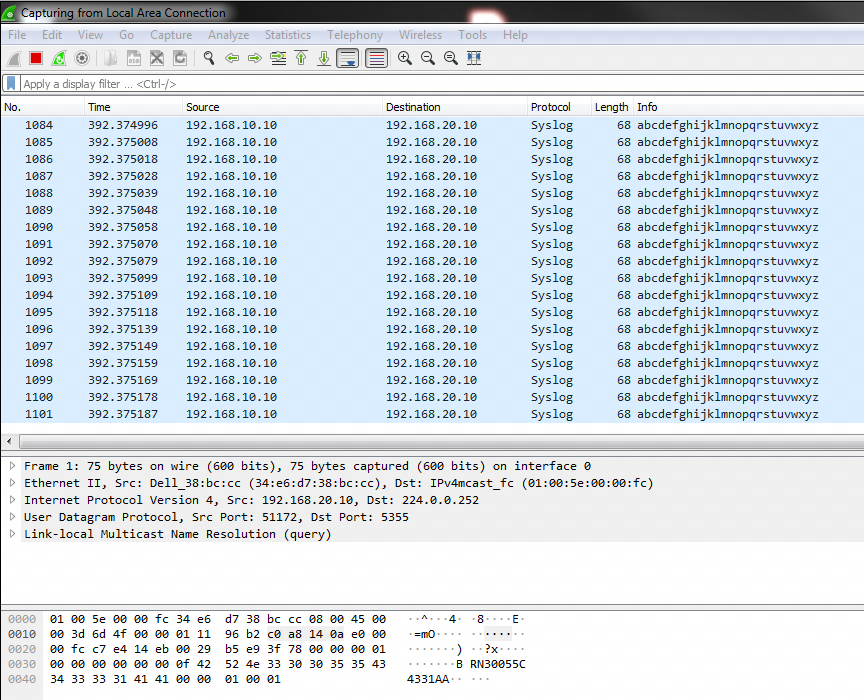
1. Use a packet generator software to send UDP packets across the Router.
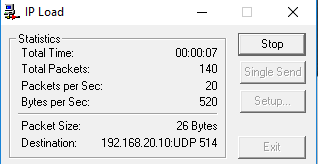
2. Use a computer connected to the OUT router running wireshark to capture the packets to make sure the traffic is being routed properly.